Installing Water Supply Lines
What You’ll Need
Difficulty: Novice
Time: About an hour for each install
Anyone who has had to crawl into a kitchen cabinet to change a water faucet and supply lines can attest to the fact that it is one of the harder things to do. Cramped for space and limited in your movements, you have to reach over your head in a confined area and attempt to loosen the supply lines, loosen the corroded nuts that hold in the fixture, and then ensure that nothing leaks when you’re done.
Installing Water Lines for Ice Makers
Many refrigerators have ice makers built into them. Running a line for this component is relatively easy for the average DIYer.
Step 1 – Drill an Access Hole for the Line
Check the basement directly underneath the refrigerator for an available cold water supply line and determine where the hole must be drilled for the water line. Drill the access hole. Do this carefully to ensure you do not drill into a baseboard or too far into the room—the hole must be under the refrigerator. If possible, drill the hole from the top down to ensure correct placement.
TIP: Doityourself’s plumbing consultant Wayne McCarthy suggests, “Pull the refrigerator out from the wall and, if it’s like mine, sweep up all the stuff behind it. Try tapping the floor to find the hollow sound between the floor joists for a good place to drill a hole. Measure off the wall about 1 inch and drill the hole with a 3/8-inch drill bit. Stick a piece of wire or something through the hole so you can find it easier when you go downstairs. Tape the end of the tubing and push enough tubing through the hole to make a couple of large loops. This extra pipe will make installation easier and also allow you to pull out your fridge for cleaning and recovering the cat’s toy.”
Step 2 – Run the Water Line
Temporarily run the copper tubing through the access hole. These lines are generally ¼-inch. Copper is the preferred tubing here. Cut the tubing to the appropriate length with a tubing cutter. Ream all burrs out of tubing (smooth out the inside).
Step 3 – Attach the Fittings
There are different styles of fittings that simply attach to the existing copper supply line. Most plumbers recommend that you don’t use the self-piercing style. Use a drilled saddle-tee valve, and always attempt to fasten it on a vertical water line. If you must attach it to a horizontal line, always put the saddle-tee valve on the top to avoid rust and corrosion settling into the tee valve, which will cause the line to eventually plug. Using an olive compression sleeve and compression nut, attach the water supply line to the saddle-tee valve. Install an olive compression sleeve and compression nut to the other end of the line, and attach this to the input of the refrigerator. Turn on the saddle-tee valve and check for leaks.
TIP: Wayne adds, “Most ice maker kits come with plastic tubing and it is good to use, especially where there is a water softener installed. Make sure to install an in-line filter for the ice maker to avoid problems with the refrigerator.”
Installing Flexible Lines
Older homes have copper line running from the shutoff valve to the kitchen faucet. These lines will eventually corrode, generally at the fittings, which can cause damage to the cabinet and produce mold. A quick fix is to install the newer style of flexible lines, available at almost any hardware store. These lines can be moved up and out of the way, allowing more storage space under the sink.
Step 1 – Turn off the Water
Shut off the water valves to the faucets. You might see some leakage here because the valves are usually not turned off and on unless repairing or replacing the faucet. Be sure to put a drip pan under the valves.
Step 2 – Remove the Old Lines
Using the proper size open-end wrench, remove the supply line from the valve. There is a very handy tool available on the market that allows you to remove the lines from the faucet. Called a basin wrench, it has spring-loaded jaws that swivel 90 degrees, allowing the user to either loosen or tighten the faucet nuts. Newer faucets have plastic wing nuts that can usually be turned by hand.
Step 3 – Attach the New Lines
Attach the new flexible lines in the same way you removed the old ones. First to the faucet, and then to the water supply valve. Turn on the water, and check for leaks.
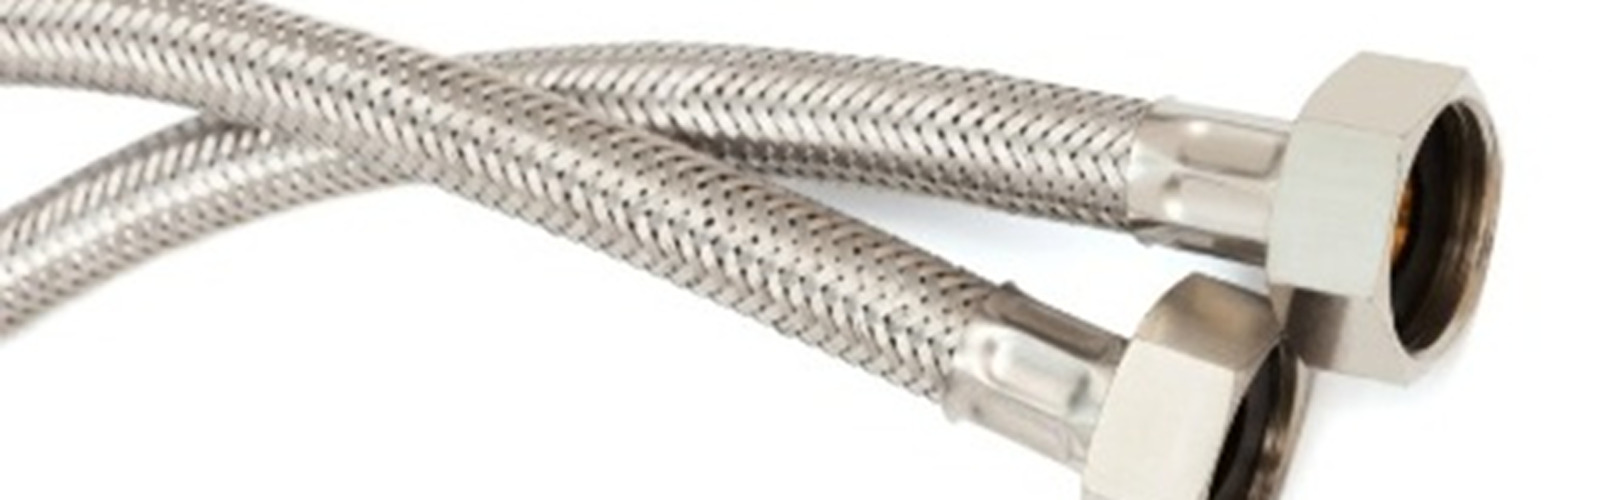
Installing a New Supply Line to a Toilet
The old supply line, generally chrome tubing, can corrode with age and begin to leak. A good replacement for this line is a stainless steel line. Coming in a variety of sizes and lengths, this offers the most flexibility and makes installation a snap.
Step 1 – Turn off the Water and Drain the Tank
Shut off the water supply at the valve. Then flush and drain the tank.
Step 2 – Remove the old Line
Put a drip pan in place to catch any water that leaks. Using an adjustable wrench, remove the old line from valve. Remove the line from tank. The basin wrench will be a big help here.
Step 3 – Install the New Line
Attach the new stainless steel line to the shutoff valve. Do the same on the tank end of line as well. Finally, turn on the water supply and check for leaks.
Replacing water supply lines is easy if you have the proper tools for the job. Follow these simple steps, and your next plumbing job will be much easier.
Nongerai Hardware administrator
About the author