How to Remove and Replace Silicone Caulk
What You’ll Need
Whether you’re replacing the silicone caulk in your bathroom as a result of remodeling or of mold and mildew growth, it’s essential that you completely remove it and clean the surface. Residual amounts of silicone caulk will prevent the fresh bead from sealing correctly. Take your time and work thoroughly with the instructions below for the best results.
Step 1 – Soften Caulk
Clean the area thoroughly with soap and water to ensure that there is no dirt or soap barrier preventing the chemicals from working on the caulk. This will also make it easier for you to see what you are doing once you begin removal. Apply caulk remover to what you intend to remove, following the manufacturer’s instructions on how long to leave it before moving on to the next step.
Step 2 – Cut Away Caulk
Once the chemical has had time to soften the caulk, use the utility knife (a fresh blade is recommended) to cut through it. In some cases this cutting will cause the sealant to fall out of the joint easily. However, if it is very thick or there is more than one layer, you may need to use pliers to pull it out.
Step 3 – Remove Residual Caulk
Any chunks that remain can be scraped out using a caulking removal tool or putty knife. A plastic putty knife can be very effective and is unlikely to cause any scratching to bathroom fixtures. If you are using a metal tool, take your time and apply a gentle pressure to remove the caulking in thin layers. This method reduces the risk that you will lose control of the tool. Also, it can be helpful to apply pressure in only one direction rather than sawing at the caulk. If necessary, you can use water as a lubricant.
Step 4 – Clean
In order to obtain the best seal on your new caulking job, you need to thoroughly clean the joint. Use an old toothbrush to apply a mixture of one part bleach to three parts water to the area and scrub it thoroughly. This will ensure that there is no dirt or mildew left behind.
If small amounts of caulk are still present, you can use rubbing alcohol or acetone on a rag to remove them. Make sure that the surfaces are completely dry before you move on to the next step.
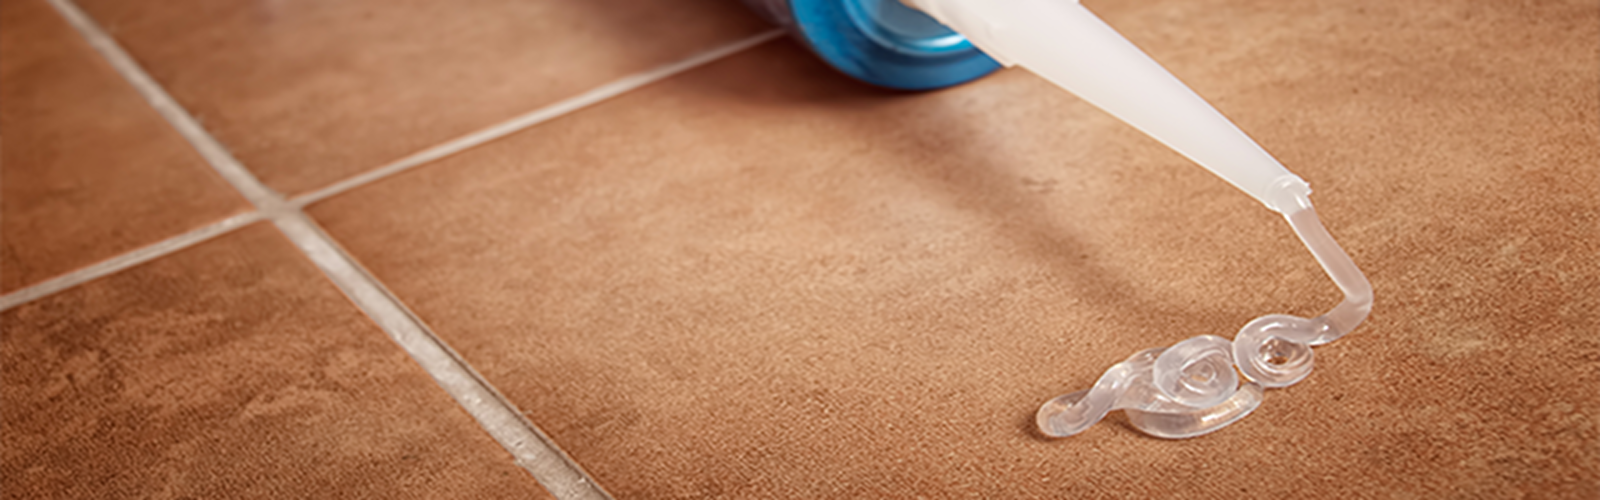
Step 5 – Recaulk
When the area is completely clear of the old silicone, you can apply the new product. Use caulk with mildew protection or fungicide to prevent unsightly buildup and maintain lasting good condition. Frequent cleaning to prevent a buildup of soap residue is also recommended to ensure that the product lasts for the longest possible time. When applying the new caulk, wipe off any misplaced material quickly before it begins to cure. Otherwise your finished product can look sloppy.
Nongerai Hardware administrator
About the author